A start to finish guide on reassembling your front subframe.
Getting Started
Assuming you have checked the subframe for damage and wear, and have done all the cleaning and painting necessary, it's time to put it all back together!

First job is to clean all the threads.
There's not many - the 1/4 UNF inner captive nut for the thrust plate, the 10/32 thread for the rebound rubber and the four 5/16 UNF studs on the top that hold the subframe in your moke. If you are going to fit a sumpguard, don't forget the eight 3/8 UNF nuts that hold it on.
If you have painted the subframe or had it powdercoated, check that the bottom arm pin fits through the hole. It should be a tight fit, but a bit of paint can make it impossible. Also check the thrust washer is a neat fit in the front hole for the top arm.
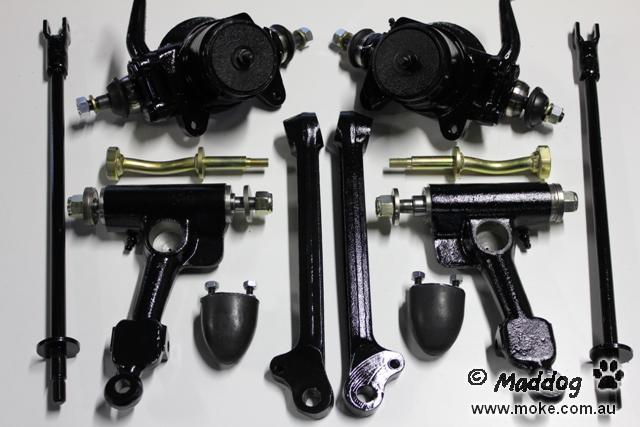
Make sure you have all the original parts cleaned and ready to fit...
..and all the replacement parts.

To make things easier, I'd suggest you also have a donut compressor handy, some anti seize grease and a grease gun full of your favourite (I prefer molybdenum disulphide).
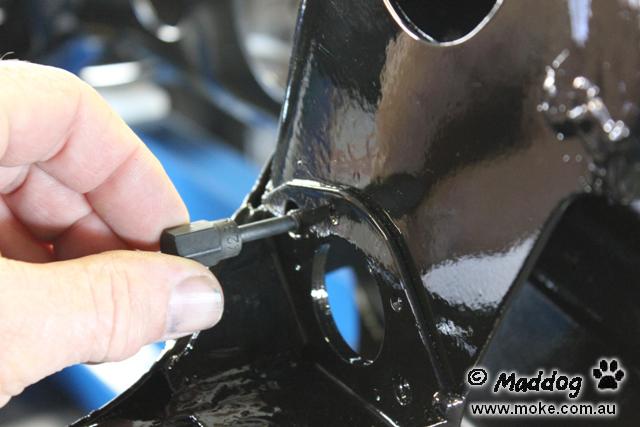
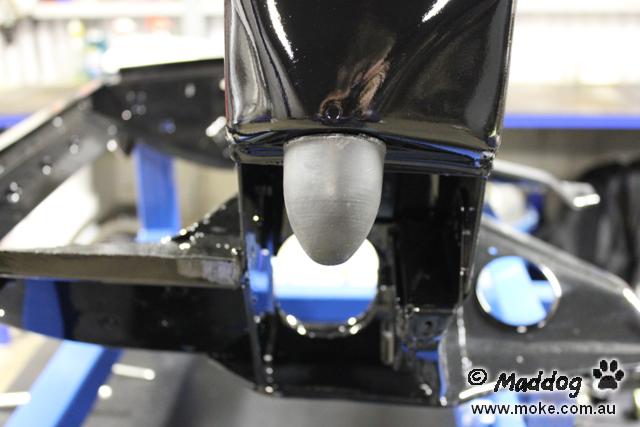
Bumpstops
Nothing hard about this - but they have to go in before anything else!

Make sure the stud threads are clean, and use plenty of anti-seize. Someone may have to get them out one day, and they have a nasty habit of snapping off!
Donuts
Hopefully you are fitting new donuts....!
It would be nice to say clean out out the centre thread first - but not many of us have a M14 x 2 tap lying around (I know I don't!). Fortunately most donut compressors have a thread cleaner built in, so run that through first to remove any stray rubber or paint. Then add a good amount of anti seize in the thread.

It's also a good idea to add a bit to the area where the cone or Hi Lo will sit - just in case you need to get them apart one day.

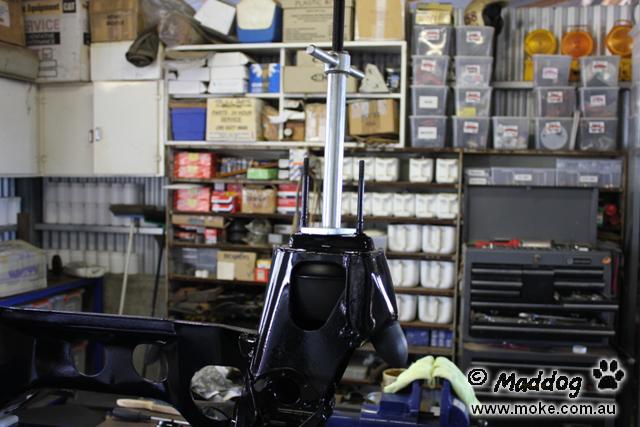
Tip the donut on it's side and slide it up into the suspension tower.

When it's in there, give it a good wriggle and twist - make asolutely sure it is in the right place and securely located in the rings at the top of the tower. If it's in the right spot it should turn, but have no movement sideways.
To hold the donut in place, install the donut compressor down through the top and tighten it a few turns. At this point it would be very handy to have three hands - but it is possible with the standard two if you're organized!
Top Arm Prep
This next step requires a bit of work, but things will go together smoothly if everything is just right. I'll also assume you have checked the top arm pin and bearings and replaced them if neccessary.
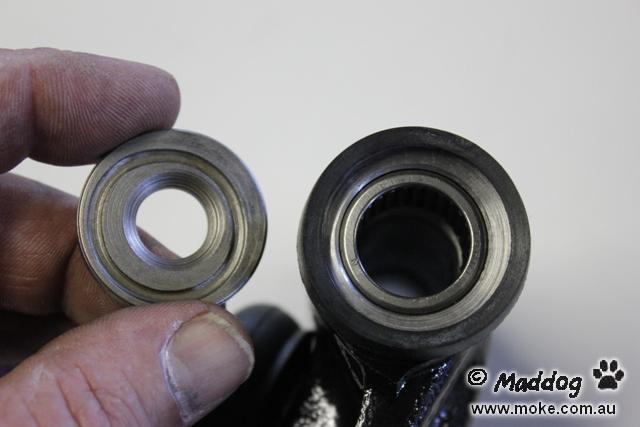
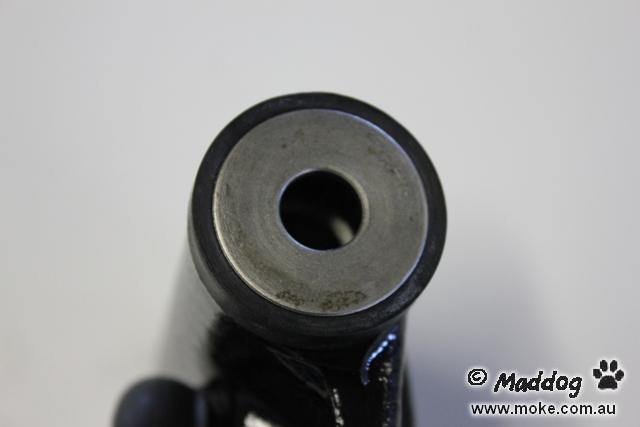
Make sure the knuckle socket in the top arm is clean and undamaged. It should be machined on all surfaces, with no signs of wear on the bottom.

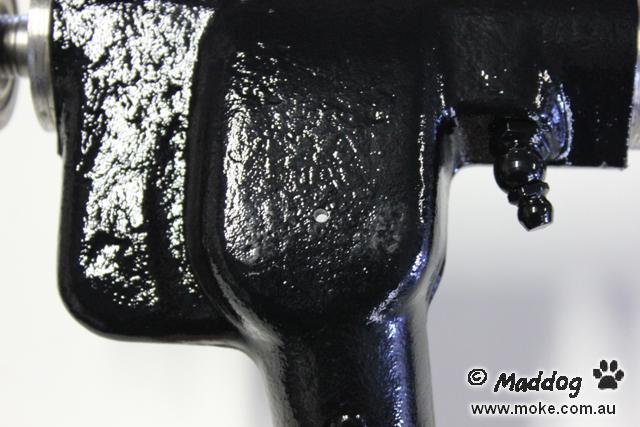
Check that the hole in the centre is clear right through - it's only small, but important!
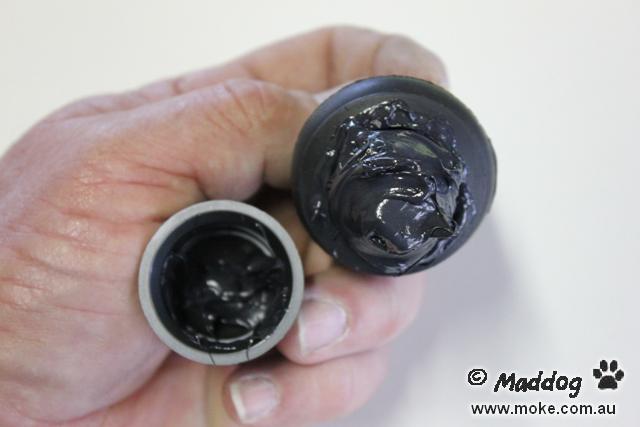
New knuckle joints usually come with grease in them, but more than likely it's dried out or poor quality. I much prefer to clean it all out and use good new grease. It takes a fair hammering - and will be in there for a while!
Assemble the knuckle joint, cup and boot as a unit, and apply some anti seize grease inside the socket in the top arm.
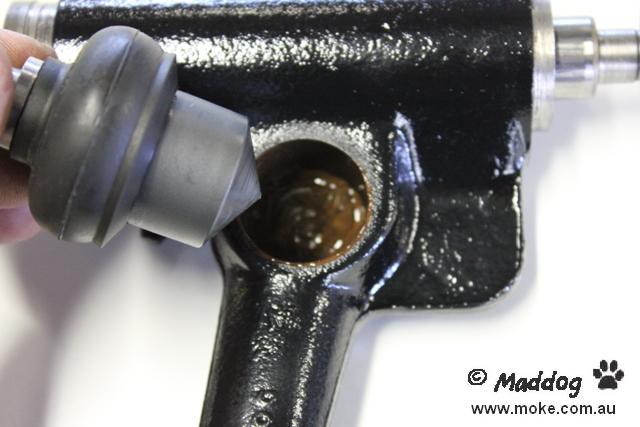
The knuckle joint can then be inserted, with excess grease pushed out the hole in the bottom of the socket.

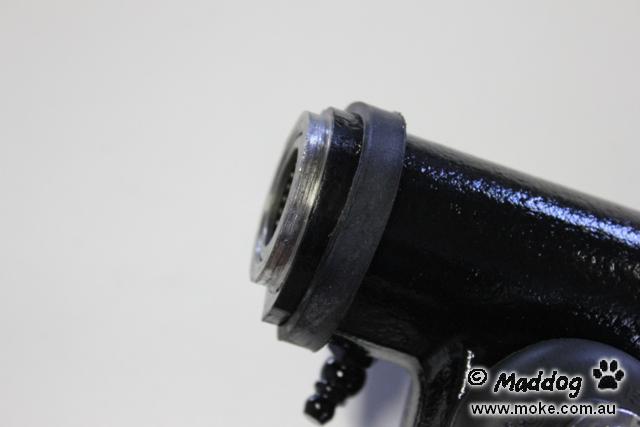
Fit the dust seal to the rear of the top arm.
Then fit the rear thrust washer (the thin one), held in place by the seal.
On the front of the arm (the grease nipple end), stretch the dust seal over the arm so it's in place and ready when the arm is installed.
Nearly there!
Hi Lo or Cone Prep
Like the new donuts, I hope you are fitting Hi Lo's as well! So cheap these days, and well worth it.
Preparing them is pretty simple - just plenty of anti seize so they will still be adjustable in a few years time.
Plaster it on the lower thread...
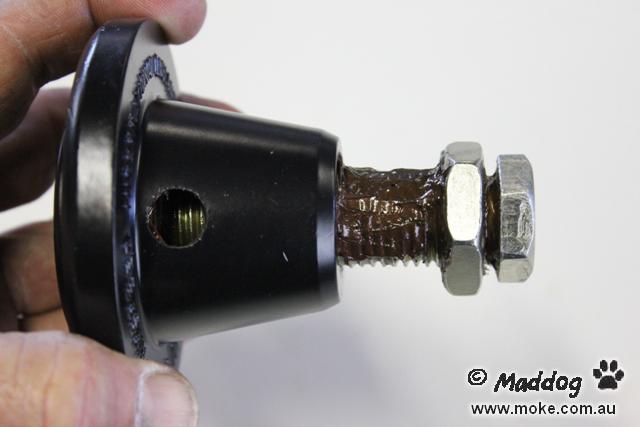
... and on the thread up inside. This is where the moisture likes to collect - and a Hi Lo isn't a Hi Lo if it's seized! Just make sure you don't block the drain hole.
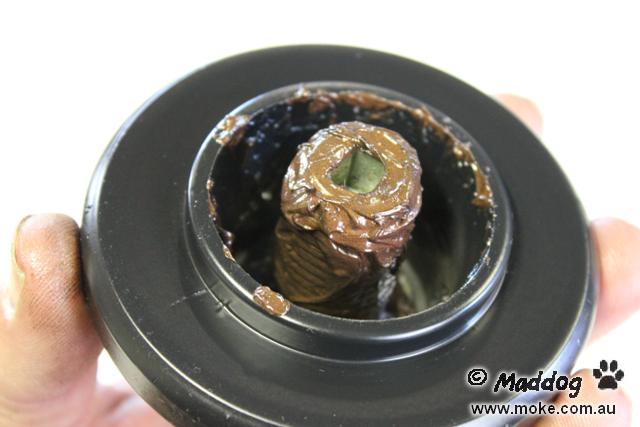
And don't forget a little in the socket for the knuckle joint.
To make fitting much easier, wind the Hi Lo down as far as it will go.
Top Arm Install
Now we'll see some progress!
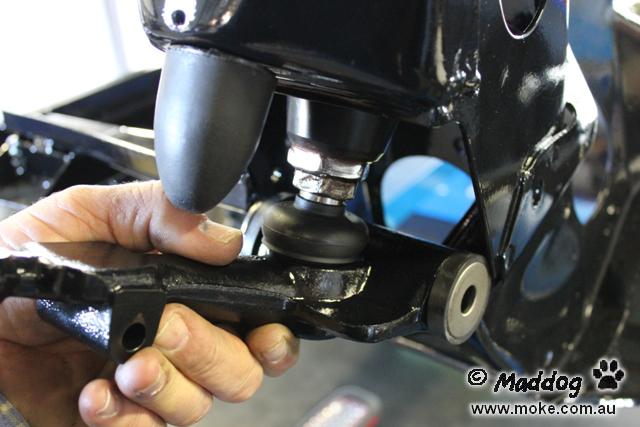
I find it easiest to sit the Hi Lo or cone on the knuckle joint, and fit the whole top arm assembly as a unit.
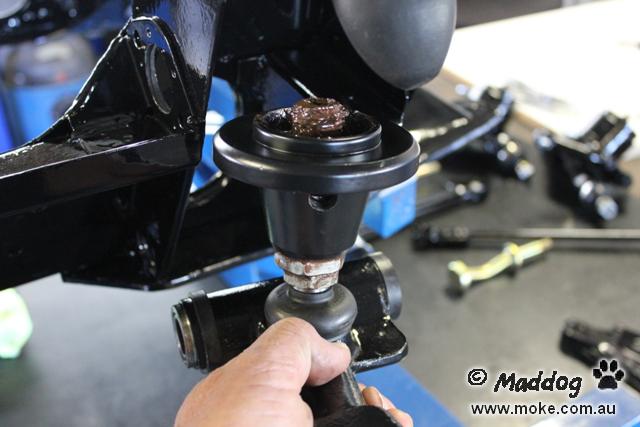
If the Hi Lo is wound down and the donut compressed a bit, it should slide in easily.
Have the pivot pin ready with the thick front thrust washer on it, and slide it in when everything is lined up.
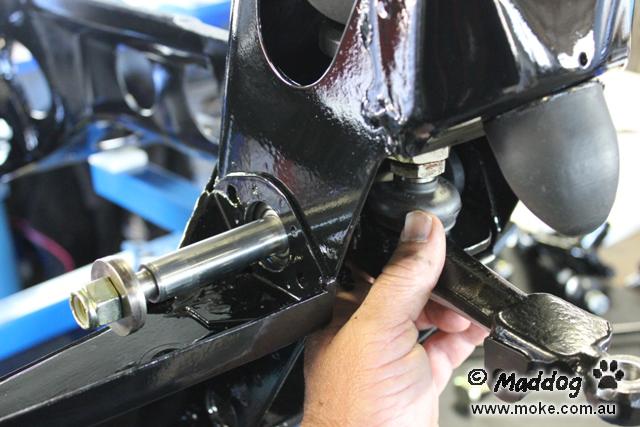
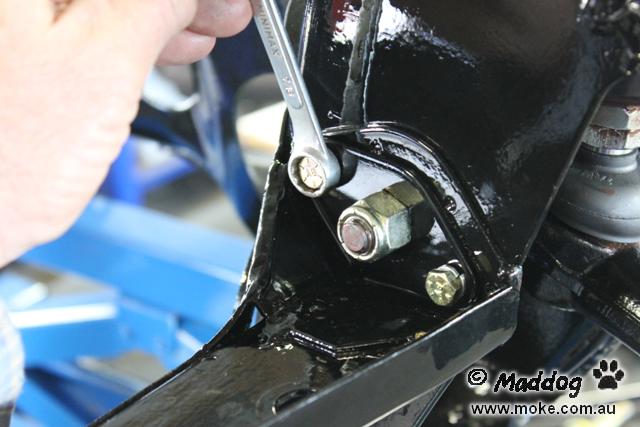
Wriggle the arm until the front washer slips into the hole, and fit the nut to the back of the pin.

As long as the front washer is located, you can do up the back nut.
Now fit the front thrust plate to hold the front thrust washer in place. Put the two small bolts in, but just enough to line the plate up.
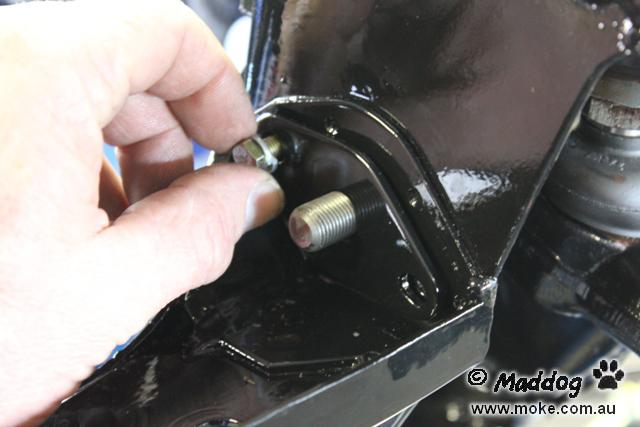
Now you can do up the front nut.
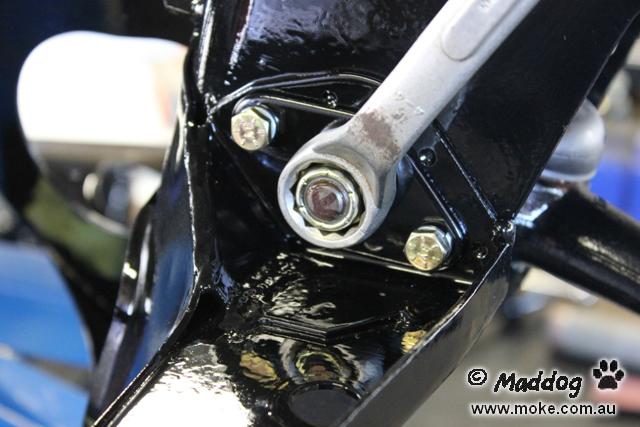
Tighten the two small bolts holding the thrust plate.
You should end up with only two or three thou clearance between the arm and the thrust washer.

Any more than that or if you can noticeably move the arm front to rear, then the washer or pin will need machining.
If that's all good, now is a good time to grease the top pin to make sure both ends are lubricated.

When grease comes out of the front, slip the dust seal back into place and keep greasing until it comes out the back as well.
Bottom Arm
To be continued......