Disc brakes are wonderful things. They are very simple, work better than drums and never need adjusting. But they aren't magic, and do need some maintenance now and then. So if you have bought a set to upgrade your drum brakes or have never touched the originals - now is a good time to give them a birthday.
"Please Note: These are general guidelines only and assume you have some mechanical knowledge. If you are not 100% confident in what you are doing, please seek advice or let a professional do the job".
Stripping
There aren't many parts to a caliper, so getting them apart is pretty easy. Most instructions will tell you not to split the two halves, but there is no real reason not to and because it makes the job so much easier I think it is worth the extra time. Just remember to get a couple of bridge seals, as they won't be in the seal kit.
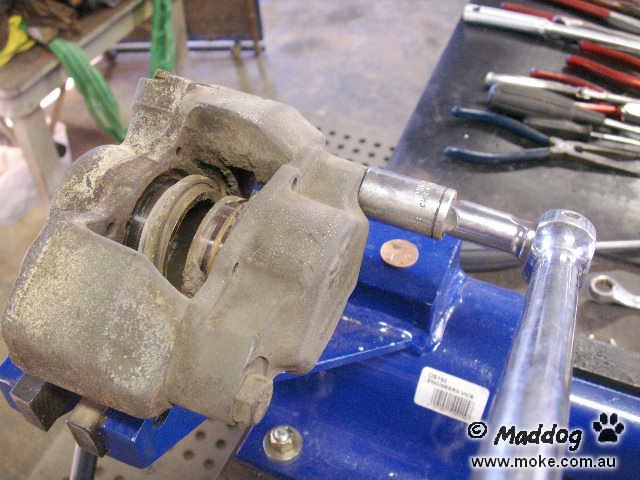
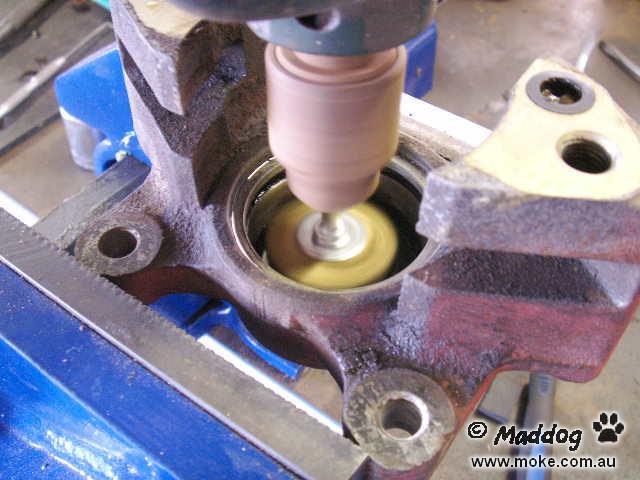
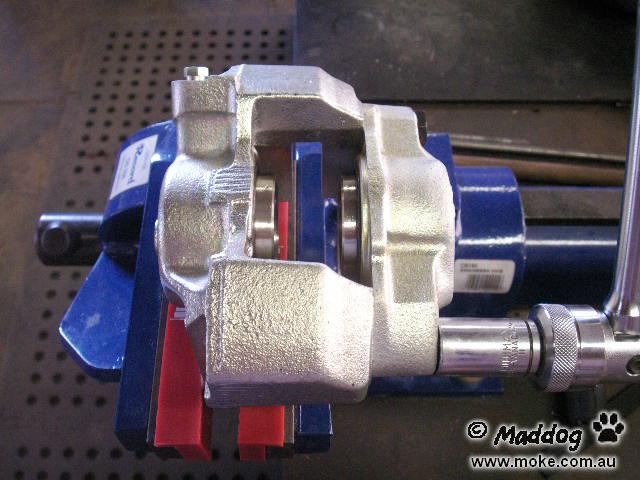
First job is to remove the pistons. The easiest way to do this is to use the brakes to push them out as far as possible before removing the caliper. Pull the two pad retaining pins on each caliper and remove the rattle clip.
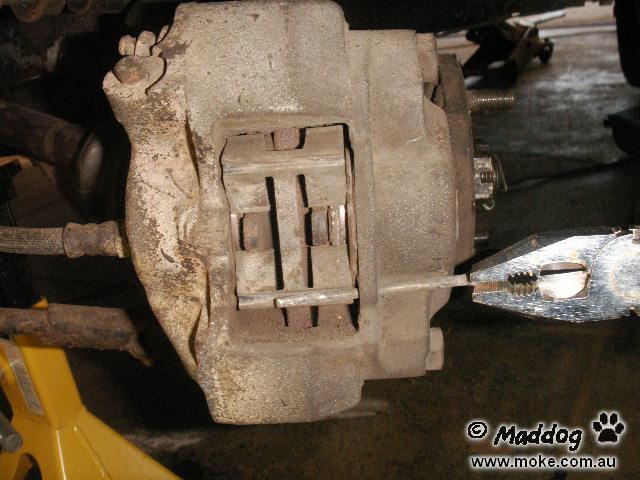
Now pull both pads out.
Pump the brake pedal and the pistons will slowly slide out. If the brake fluid reservoir is full there should be plenty to do all 4 pistons, but worth checking after one wheel.
The pistons will hit the disc and stop before any fluid can escape, so pump away! Note in this photo the dust seal on the inside has come out with the piston - not normal, but why I'm replacing them.
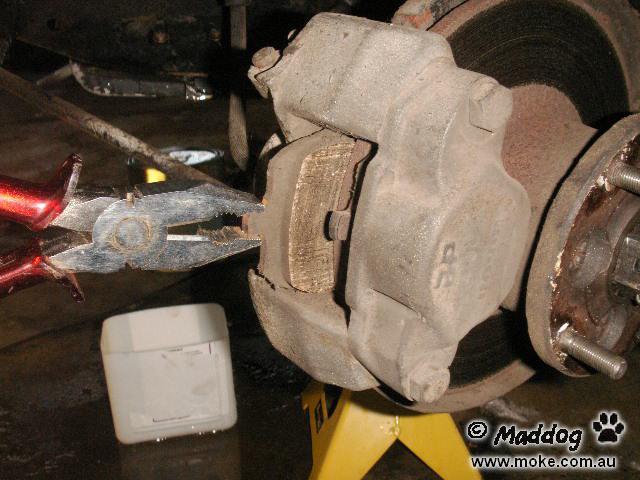
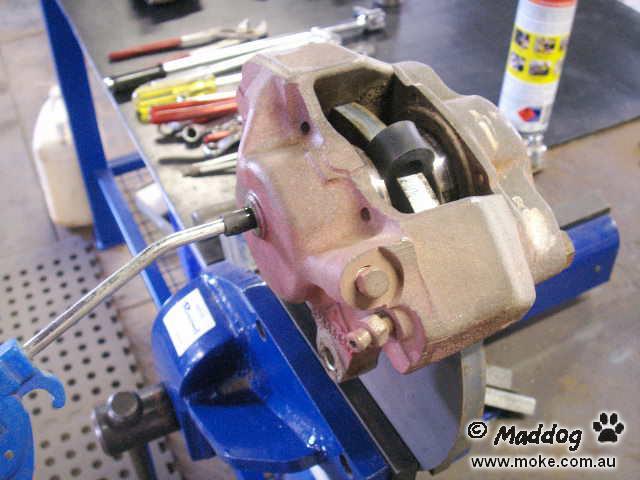
While the calipers are still attached, loosen the two bolts that join the two halves together with a 5/8 socket. They should have loctite on them. Crack the brake hose, and undo the mounting bolts. Spin the caliper to undo the hose and they will be free. Give some thought to replacing the hoses if you don't know how old they are.
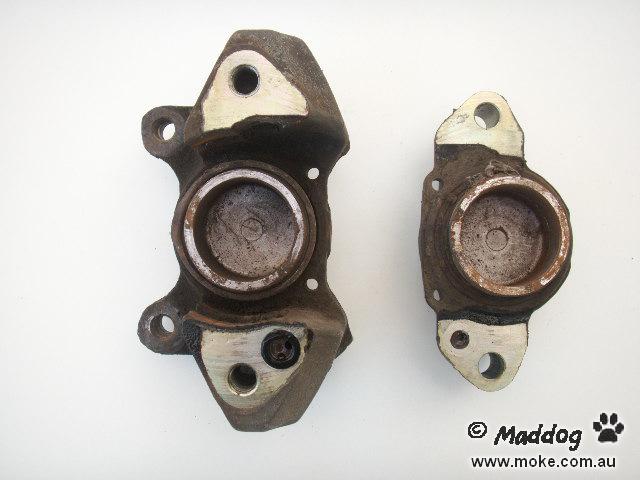
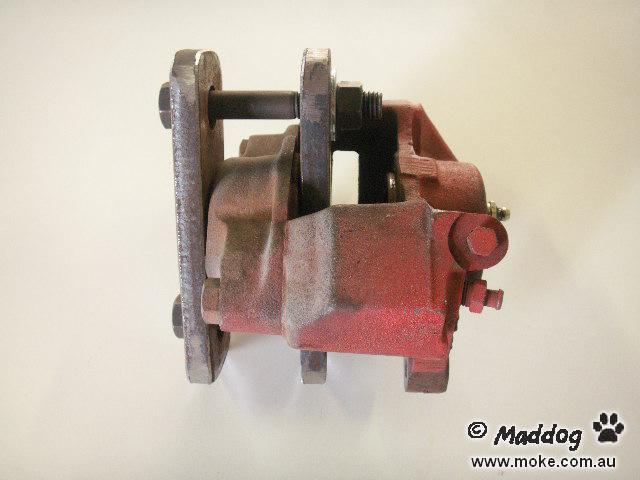
Look pretty grotty, don't they!
Remove the two bolts holding the halves together and split them apart.
Grab the exposed piston and wriggle them out. If they are still tight, you may need to clamp them in a vice. If you think you might use the pistons again, use piece of wood or soft jaws and be very careful. The slightest nick or dent will ruin them.
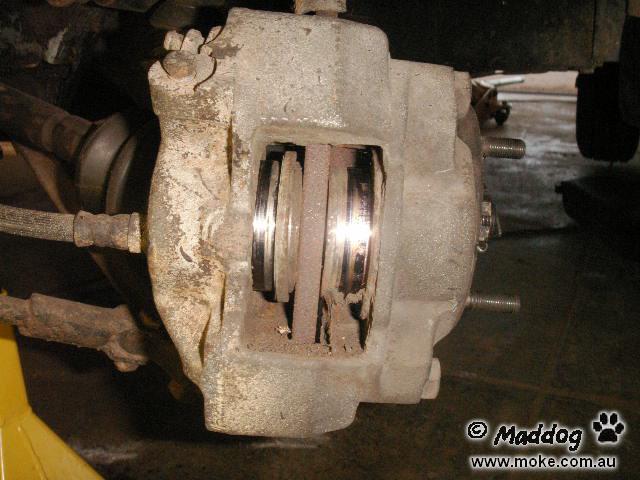
There will be some brake fluid left in here, so be prepared. There may also be some crap......
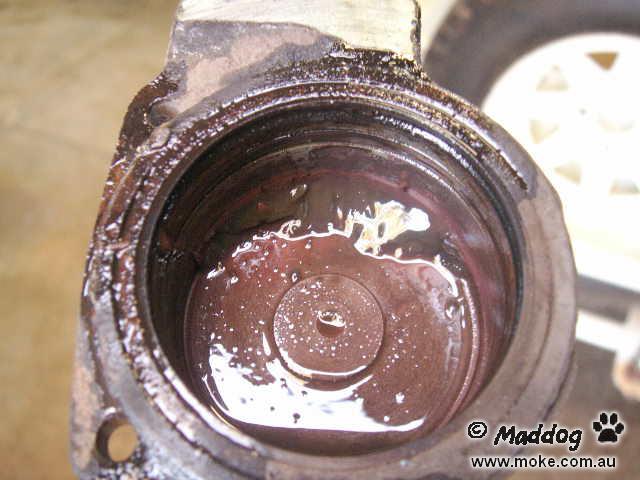
Where did that come from?? : )
Brake Upgrades
If you have bought the calipers to swap to disc brakes and can't use the pedal to remove the pistons, the easiest way to get them out is with compressed air.
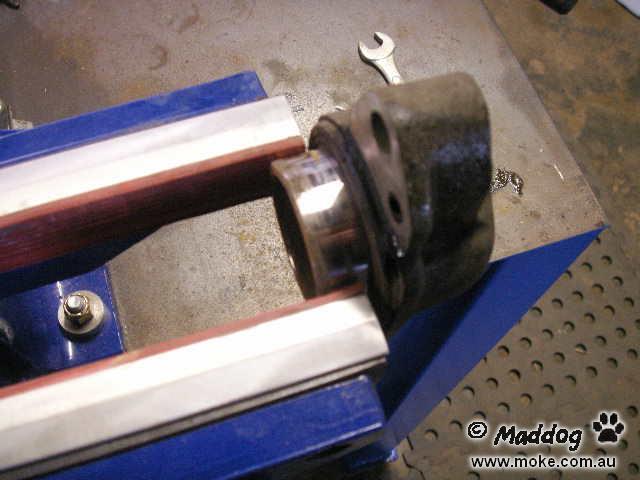
Clamp an old brake disc in a vice and sit the caliper on top. Slip a piece of rubber tube on a duster gun and push it into the inlet hole. Use the minimum amout of pressure that will get the pistons moving. Start with an empty tank and leave the compressor running.
Instead of an old brake disc, I used a circle of 12mm plate that fits neatly in the caliper. Note the strip of rubber folded over so the pistons don't destroy themselves. Once they hit the rubber, pull it out and push the pistons again until they hit the disc.
Seized Pistons
Up until now I have assumed that all is going to plan and the pistons have behaved themselves and come out nicely - but that doesn't always happen. If one or two won't come out with the brakes then go ahead and take the calipers off as above, but don't loosen the bolts holding the halves together.
Next you will need to make a clamp to hold the loose piston in the bore - just two plates with a hole at each end.
Screw a grease nipple in the inlet and pump with a grease gun until the stuck piston comes free. If both are stuck, free one at a time. Unscrew the grease nipple and use the clamp to push the piston back and the grease out before starting on the second one. Once they are moving you can go back to using compressed air to get them out.
If you have to resort to this method it is doubtful that the calipers will be servicable, but worth a look. Make sure you thoroughly wash all the grease out afterwards, especially in the fluid tubes that connect the two halves. Any grease left in there will instantly ruin the new seals.
Cleanup
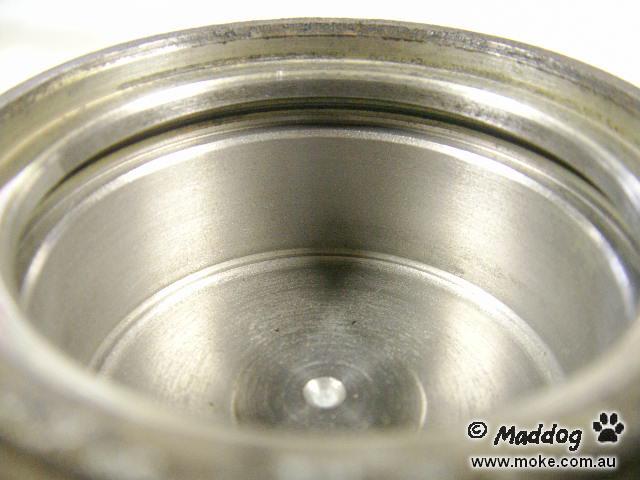
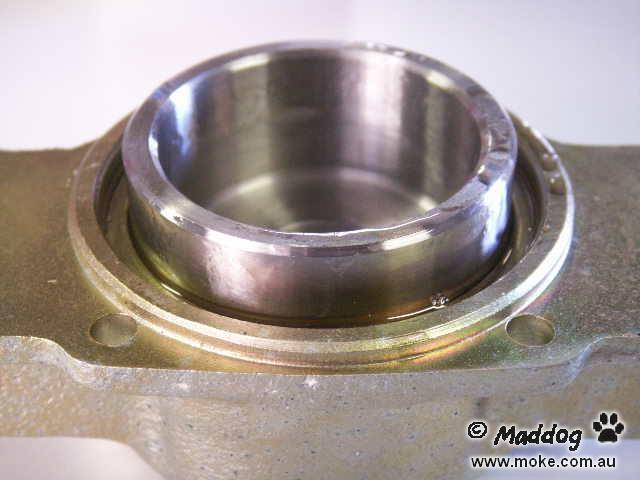
Using a sharp o-ring pick, stab the old seals and pull them out. Don't try getting in behind them in case you scratch the groove they seat in. The groove is the most important part of the caliper and must be in perfect condition to seal correctly.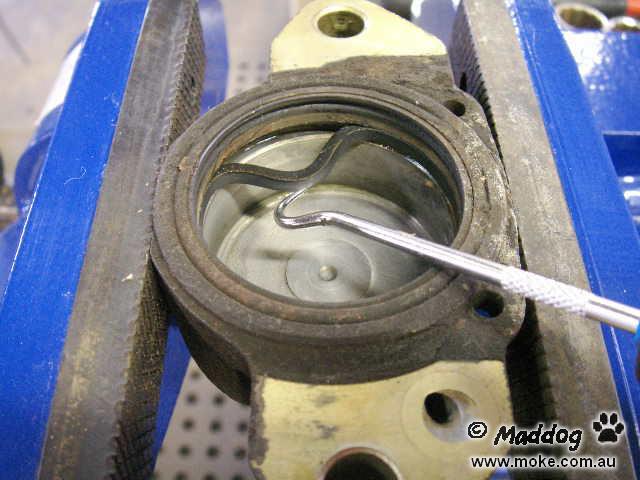
If you don't have an o-ring pick, use a wooden meat skewer so it can't hurt anything.
Once both seals are out, prise the dust ring out with a screwdriver.

Using either metho, brake fluid or brake cleaner give the bores a good scrub with a kitchen scourer. Even better is a 3M scotch brite pad from a paint shop - they work better and will last forever.
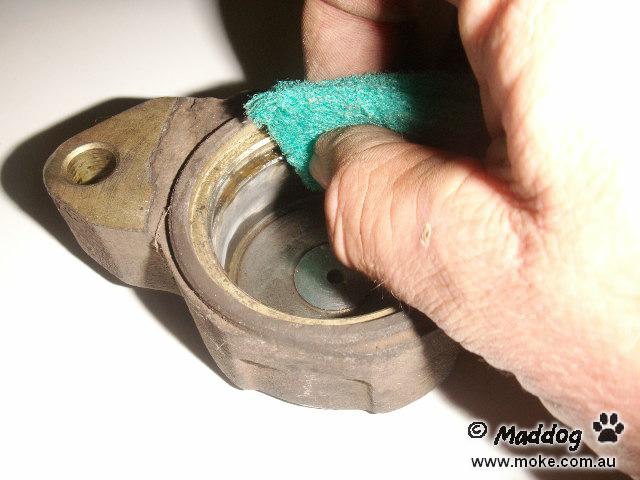
If there are any rust patches, use a bit of 600 wet and dry to clean them up, but don't over do it. Try not to go near the fluid seal groove except with the scourer. If it is really grotty, you can use a small wire brush in a drill - but again, don't over do it.
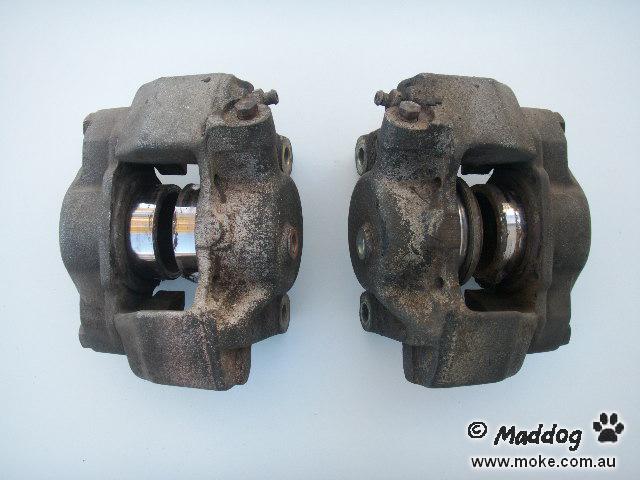
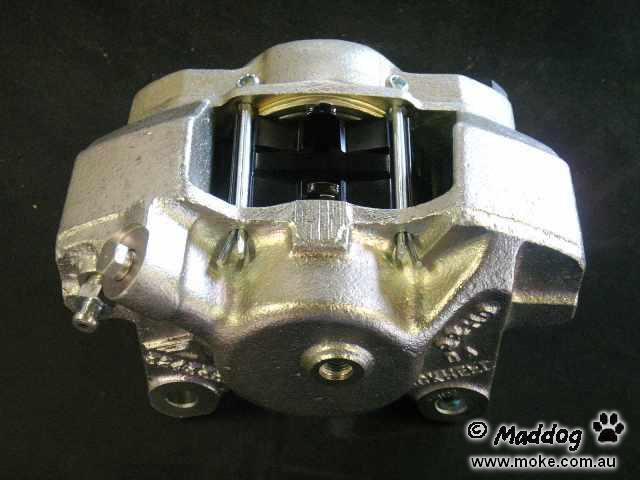
All going well, you should end up with something like this.
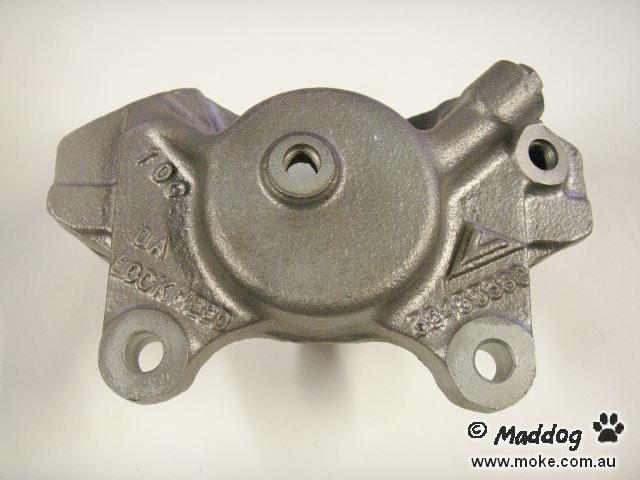
Cleaning the Outside
The easiest and best way is to bead blast them - just don't be tempted to do the inside as well! I know it would be a lot quicker than a scouring pad, but my brake expert said don't do it. Slip an old piston and dust seal in to protect the bore and hammer the metal ring back in lightly. Don't try blasting without it - it's not worth the risk.
They do come up well this way though!
If you don't have access to a bead blaster, give them a good scrub with a strong detergent (like truck wash) and then a good wire brush.
If you want to have them plated like they were originally, this is the time to do it. Just take them in as they are - the coating is only 12 microns thick and won't hurt the bore.
If you want to paint them it's probably easier to wait until they are back together. Use a good quality caliper paint like 3M, and follow the directions on the can. Just make sure the pistons are pushed all the way into the bore before painting, and don't overheat them.
Pistons
The original pistons were chrome plated, and do wear and rust. If you are happy to spend the money and replace them, then you have made a wise choice and can skip the next part.
If you want to save some money, then you will have to clean the old pistons up and carefully inspect them. But be warned - you can't replace just one piston. This will lead to 'over active' brakes, where one piston works better than the others and you get pulling to one side. If even one piston is not servicable, you must replace all four.
Using your scouring pad again, give the pistons a good scrub with brake fluid, oil, WD40 etc. to remove any stains and dirt. Always rub around the diameter and not up and down. If you have a loose mop buffing wheel you can use that, but remember you only want to remove the dirt, not any metal.
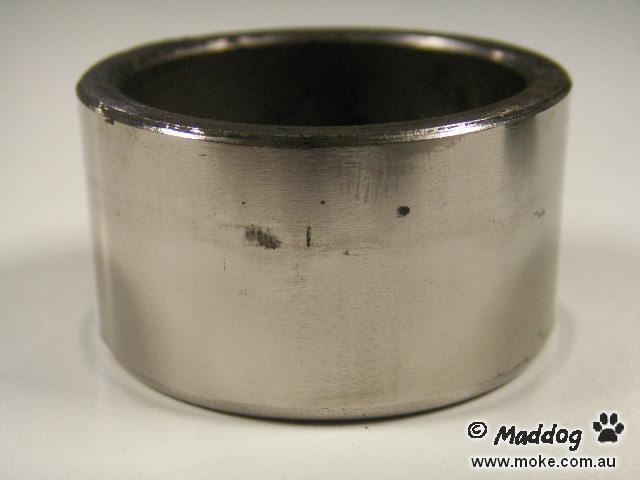
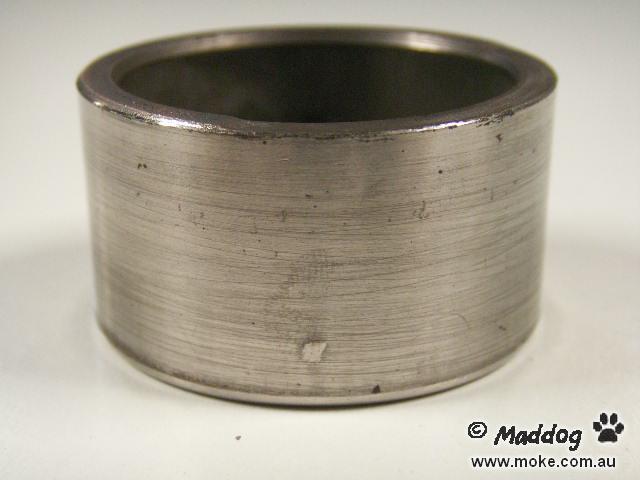
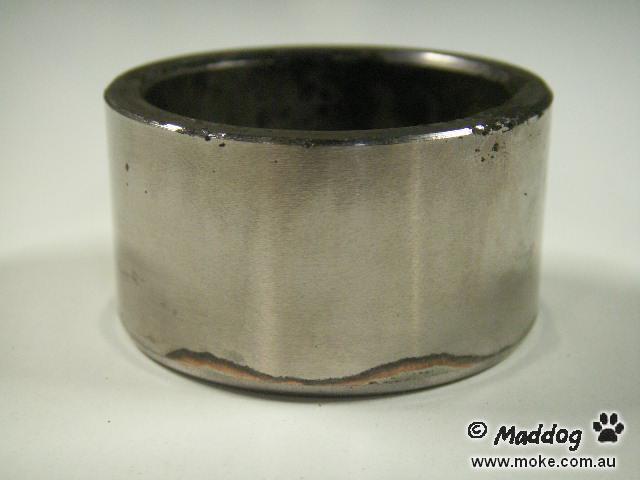
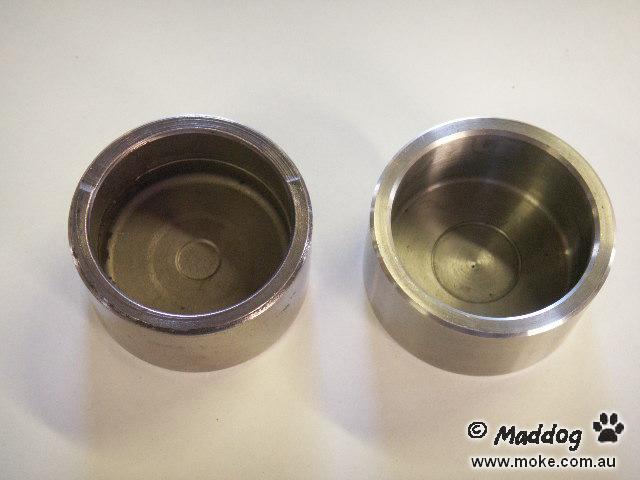
Now have a close look at the surface. Below are the common defects, and all of these pistons were binned.
Rust.
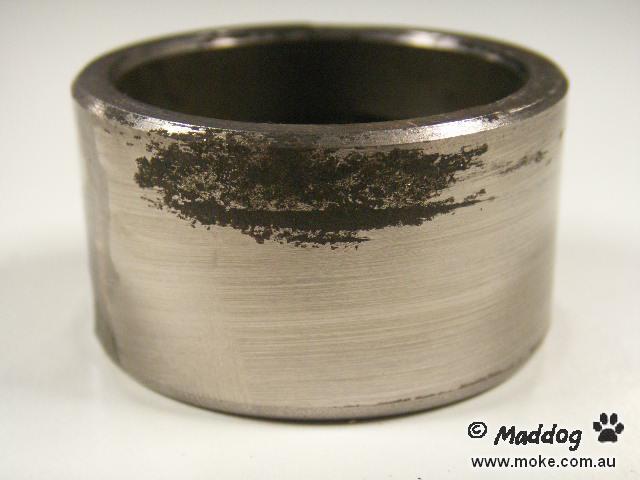
Wear - normally where the fluid seal sits.
Damage - in this case a dent. Even though it is below the fluid seal, the piston has to pass through the seal on assembly.
Tipped piston. Here it has worn through the chrome and you can see the copper layer underneath.
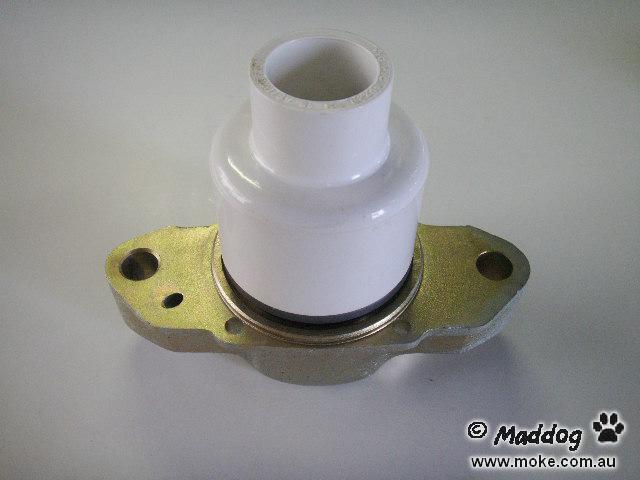
And finally a new stainless piston. This is how they should look!
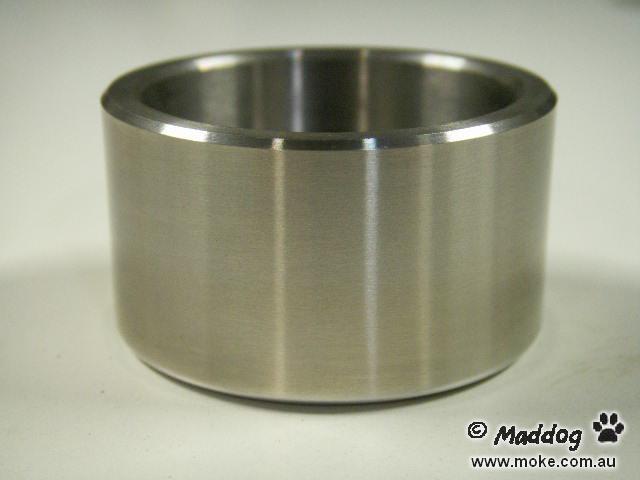
New pistons are available in either chrome or stainless, with stainless only a couple of dollars more and around $100 a set. If you're not sure what you have, the stainless are machined on all surfaces, and chrome are dull cast inside and on the bottom, and usually have a square or round block in the centre that faces the pad.
Seals
These are pretty straight forward, you will need one kit for each caliper plus the small bridge seals mentioned earlier.
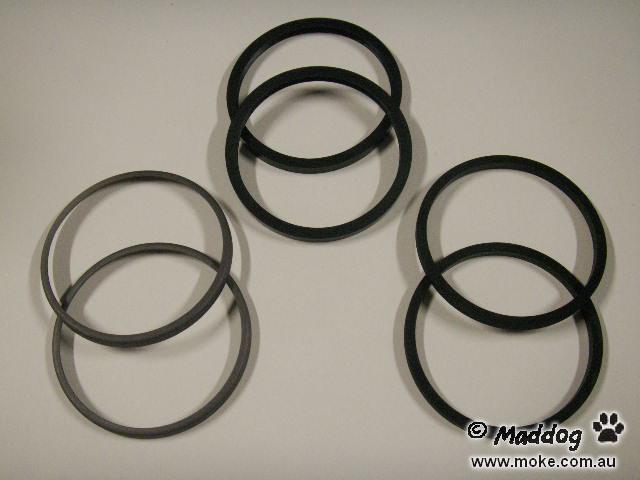
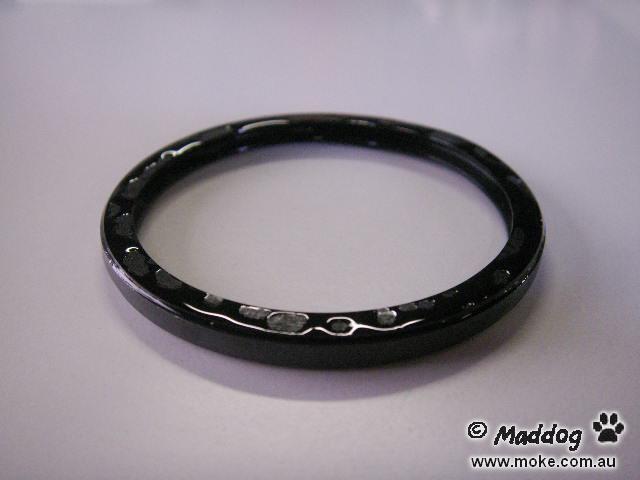
Fluid seals are square in section and can go in either way up, and the dust seals have a groove in them.

Reassembly
As with all brake jobs, start by making sure everything is spotlessly clean by using plenty of brake cleaner. Have a good clean place to work, some clean lint free rags and have everything handy. Make sure the bolts that hold the halves together are clean as well as the thread in the caliper.
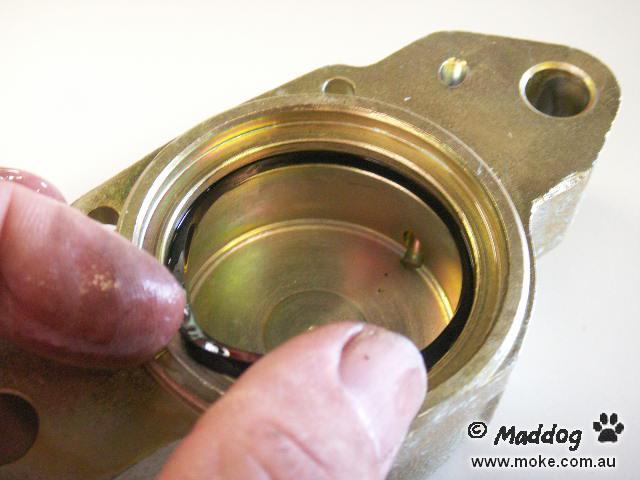
Start by giving the fluid seals plenty of assembly lube.
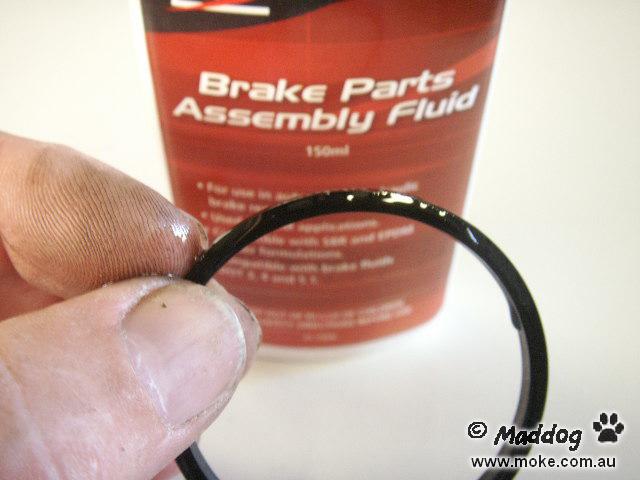
And insert them into the groove in the bore with your fingers.
Before the pistons go in, check to see if they have a relieved section on the face that pushes against the pad. New stainless ones don't seem to anymore - but the original pistons did. If they do, this relieved section must face the leading edge of the pad, so it goes at the top where the bleed nipple and fluid holes are in the caliper halves. The idea is they push the pads on a slight angle so the disc enters into a shallow wedge, and is to stop brake squeal.
Give the pistons plenty of lube and push them in leaving about 10mm above the face of the caliper. Make sure they go straight down, and don't force them if they're not square in the bore.
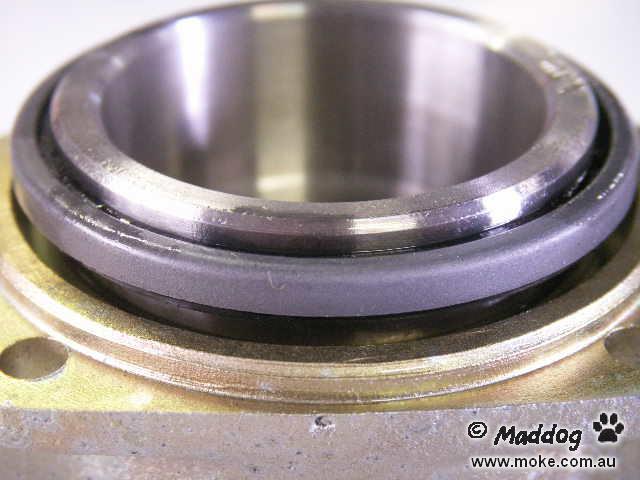
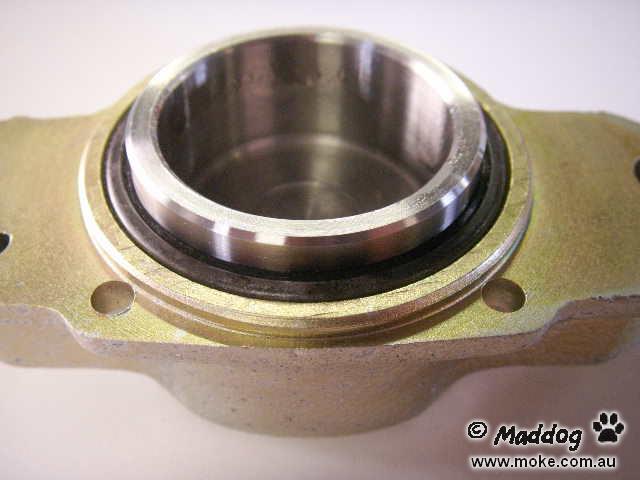
Lube up the dust seal and slip it inside the metal retaining ring.
Now start the retaining ring and seal onto the piston as a unit.
To install the seal and ring I made a simple tool out of a PVC pipe fitting. Don't try using a punch or screwdriver, the ring will bend and deform the seal or fall out.
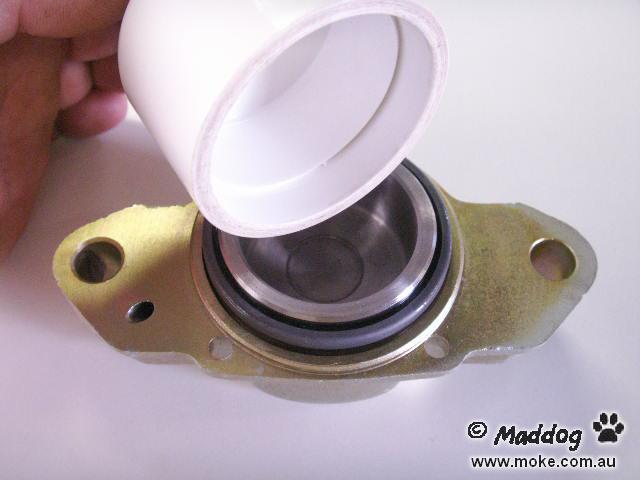
Use the tool to push the ring and seal down, and then hammer it home. Take your time and make sure it goes down square without any dents in the metal ring.
Check that the ring is all the way down and flush with the face of the caliper. I have had new calipers arrive in a box with the rings lying loose in the bottom because they have fallen out!
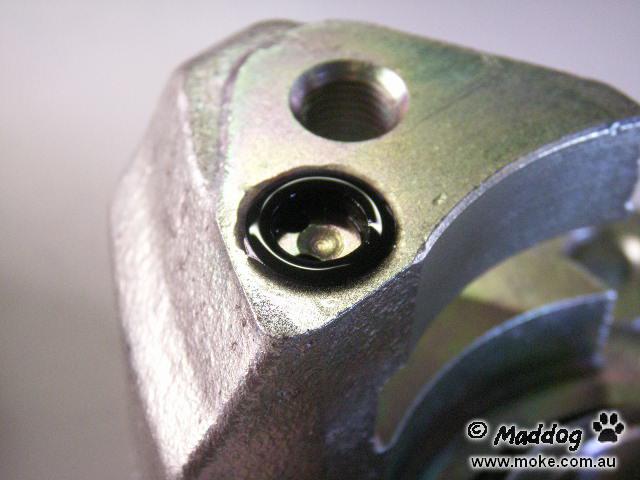
Once you have done two halves it's time to put them back together. Make sure you have matching parts by checking the fluid holes line up. Don't forget the new bridge seal with a bit of lube.
Put a bit of Loctite on the bolts.......
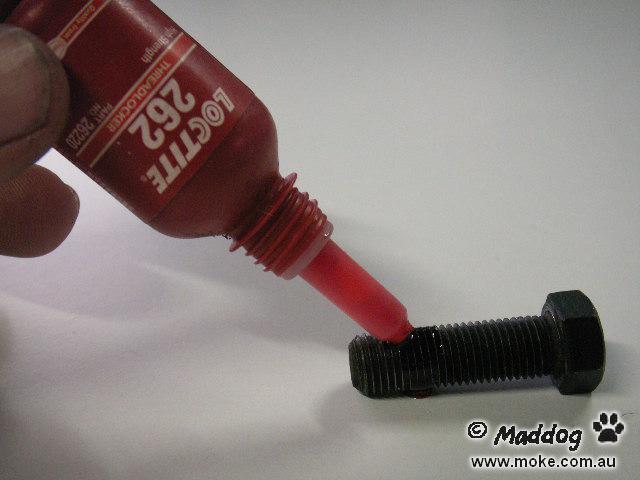
.....and torque them up to 35 ft/lbs.
And that's all there is to it! Looks a bit better now I think........and should work a lot better.
Reinstalling
Putting the calipers back on is pretty straight forward, apart from two things. First you must undo the brake hose from the subframe and tighten it into the caliper. Don't try to simply wind the caliper onto the hose - it will almost certainly end up with a twist in it and have a very short life. Also make sure it doesn't rub on the tie bar - drum and disc brakes have a different length hose, but some parts sellers only stock the longer one.
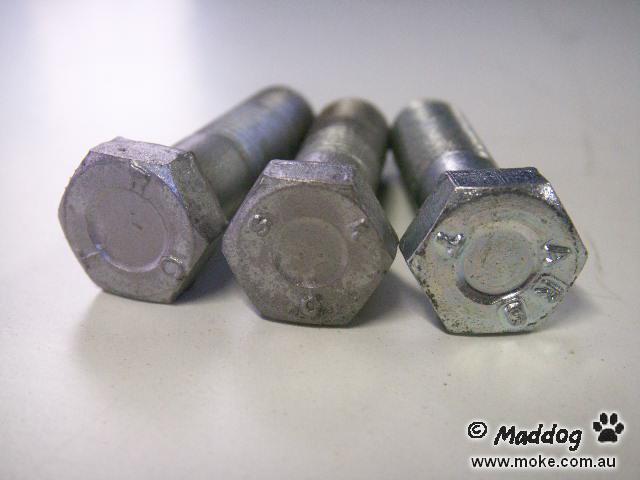
Secondly, make sure you have the correct bolts to attach the calipers. They are pretty easy to spot with a special head, and should be done up to 35-40 ft/lbs.
I would also highly recommend that you replace a few other parts while you're at it, like the rattle clips and split pins, pads, hoses and copper washers.
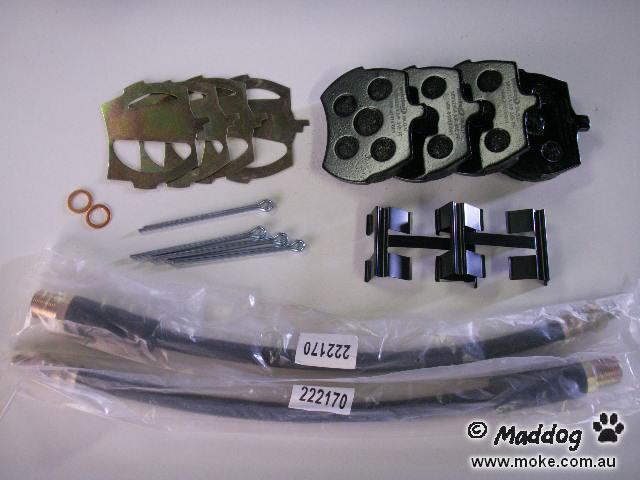
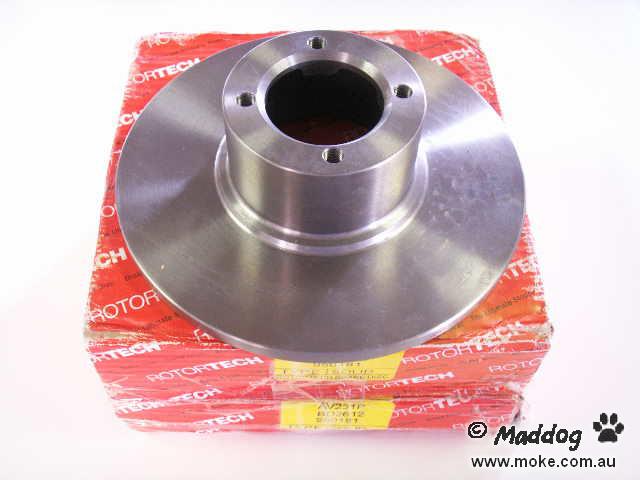
And to complete the package, some new discs. They are so cheap these days it's not worth getting the old ones machined.
And one final thing - don't be concerned if you seem to have more pedal travel after a rebuild. The new seals are soft and flexible, and will drag the pistons further back from the discs. Give them a week or so to bed in, and things should be back to normal.